REVIEW · AUSTRIA
Get the cool Kick: Ice bathing in the mountain lake
Cold water with a mountain view sounds intense.
In Tyrol, this 2 hour experience pairs a professional mountain hiking guide and cold trainer with clear ice bathing instruction, so you get the why and the how, not just a splash. I like the combination of safety coaching and the Alpine panorama at the foot of the Zugspitze. One drawback to weigh: it is not for everyone, with restrictions for heart issues, respiratory problems, vertigo, and cold or illness.
After a short hike (about 30 minutes) you’ll practice controlled breathing and try ice bathing only when you feel ready, under guidance. Then you’ll use breathing techniques again to warm up, followed by the hike back. Even in rougher weather, the provider switches to ice tubes near the Meeting Point and keeps the rewarming plan going, so you still get the core experience.
In This Review
- Key moments that make this ice bath experience work
- What this ice bathing hike really feels like
- The 2 hour flow, step by step, without the guesswork
- 1) A hike of about 30 minutes to the mountain lake
- 2) Breathing techniques for cold control and safer entry
- 3) The ice bathing itself, guided not improvised
- 4) Warming up with breathing after the cold water
- 5) If weather is risky, ice tubes and a rewarming hike
- Why the breathing lesson is the real value
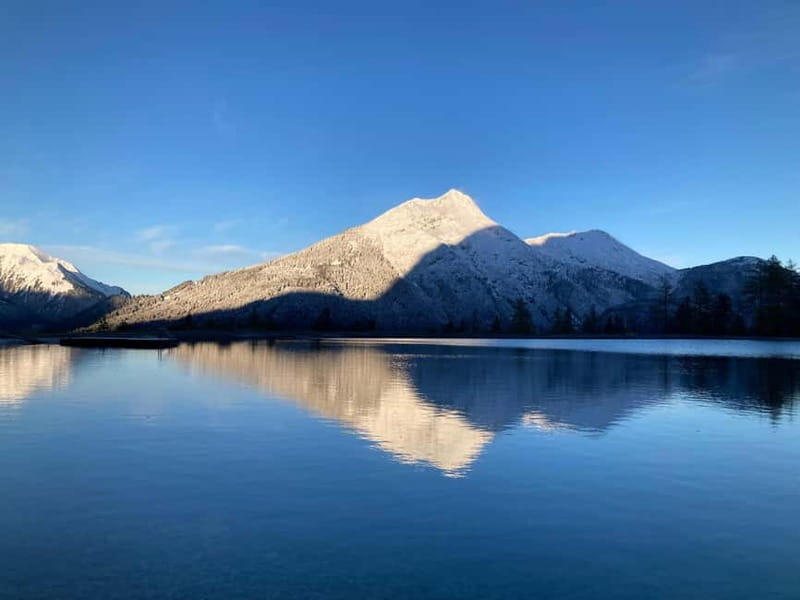
- The scenery and the payoff near Zugspitze
- What you should pack so you don’t freeze your plans
- Who this is best for, and who should skip it
- Best fit
- Not suitable for many common health situations
- Pricing and value: is $88 worth it?
- Languages and group vibe: what to expect from the people
- Safety reality check (the part you should take seriously)
- Should you book Get the cool Kick: ice bathing in the mountain lake?
- FAQ
- How long is the ice bathing experience?
- Where is the meeting point?
- What is included in the price?
- What should I bring with me?
- Do I have to go into the ice water?
- What happens if the weather is risky?
- What language will the instructor speak?
Key moments that make this ice bath experience work
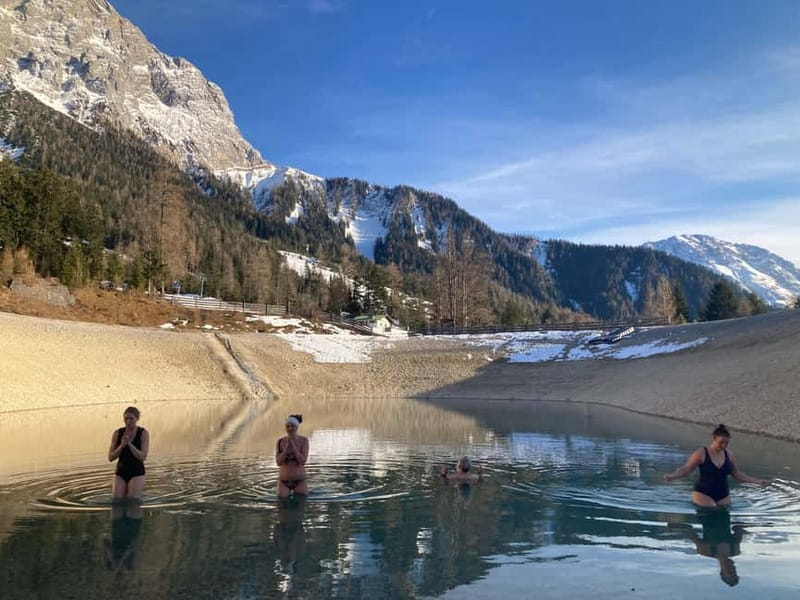
- A guided hike to the lake keeps the start calm and purposeful, not random.
- Breathing coaching before and after helps you manage the cold, not just tolerate it.
- Small group size (up to 8) means you get hands on technique support.
- Zugspitze area views add real reward to the effort, even if your focus is bodily sensations.
- Emergency blanket and rental towels cover the practical basics so you can concentrate on safety.
What this ice bathing hike really feels like
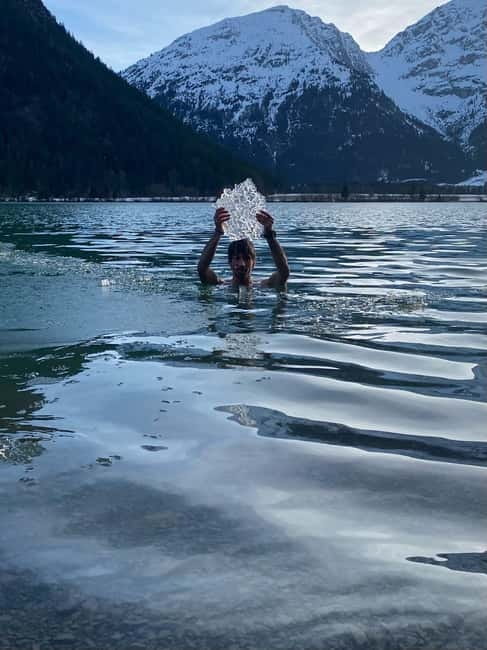
I picture cold water as a jump scare. This tour treats it more like a skill. The format is simple: hike in, learn controlled breathing, practice safe ice bathing, then warm up with breathing and movement. You’re not expected to do anything macho. You are expected to follow technique, listen to your body, and respect the safety limits.
The hook is the mountain setting in Tyrol, at the foot of the Zugspitze. You trade city noise for cold air, lake water, and a view that makes the effort feel earned. But the real value is the teaching. Ice bathing can go wrong when people rush or ignore risk signs. Here you get instruction on optimal breathing and how to apply cold water safely.
The group stays intentionally small, limited to 8 participants. That matters because cold exposure is personal. One person needs more time, another needs a different approach. With fewer people, the guide can watch technique and offer corrections. And if you decide you do not want to enter the ice water, you still get the breathing parts and the learning.
The 2 hour flow, step by step, without the guesswork
This experience is built like a short class in cold conditioning wrapped in an outdoor hike. Here’s what the timeline is designed to accomplish.
1) A hike of about 30 minutes to the mountain lake
You start at the Meeting Point sign at the given address. Then you begin a hike toward a mountain lake, roughly 30 minutes away. This hike is more than transportation. It sets you up for the cold by getting you moving, getting your breathing under control, and bringing the group into the same rhythm.
I like the fact that you do not walk up, look at the water, and then freestyle. Your body has time to warm slightly from the hike, and your mind gets used to the idea of cold water before you meet it.
Practical note: you’ll want gloves and outdoor clothing, because mountain weather can shift quickly. Even if it looks mild at the start, you’ll feel the temperature when you stop.
2) Breathing techniques for cold control and safer entry
At the lake, the focus turns to breathing. You’ll learn optimal breathing before you attempt ice bathing, and you’ll get technique guidance from the cold trainer and mountain hiking guide.
This is the part that often separates a “shock to the system” from a controlled cold application. When breathing is off, cold feels harsher and panic can creep in. When breathing is structured, the experience is more manageable, and your body can handle the exposure with less drama.
You also have a choice in how you approach your first attempts. If you want, you can make early trials under guidance and then climb into the ice water when ready. That flexibility matters, especially if you’ve never done this before.
3) The ice bathing itself, guided not improvised
Once you’re coached on breathing and technique, you can enter the ice water. This part is intentionally supported. You are not just handed a challenge and sent off. The instruction is there to minimize risks and help you use the cold correctly.
The included swimming shoes are a big practical detail. Mountain lake edges can be slick and uneven. Shoes designed for water help you move safely and keep your feet from turning into the weak point of your experience.
4) Warming up with breathing after the cold water
After the ice bath, the plan is not to stand there shivering and hope for the best. You’ll be shown breathing techniques to increase your body temperature. That’s the second half of the “skill,” and it’s just as important as the cold application.
Then the group hikes back to the starting point. The combination of breathing plus movement helps you recover in a controlled way, instead of dropping into discomfort and staying there.
5) If weather is risky, ice tubes and a rewarming hike
Sometimes conditions change. If it’s a risky weather situation, you won’t be forced into the lake setting. Instead, the provider uses special ice tubes near the Meeting Point and then does a rewarming hike after the ice bath.
This contingency is worth appreciating. Ice bathing is physical and sensitive to conditions. A setup that adapts means you still get the core method, not just a rain check.
Why the breathing lesson is the real value
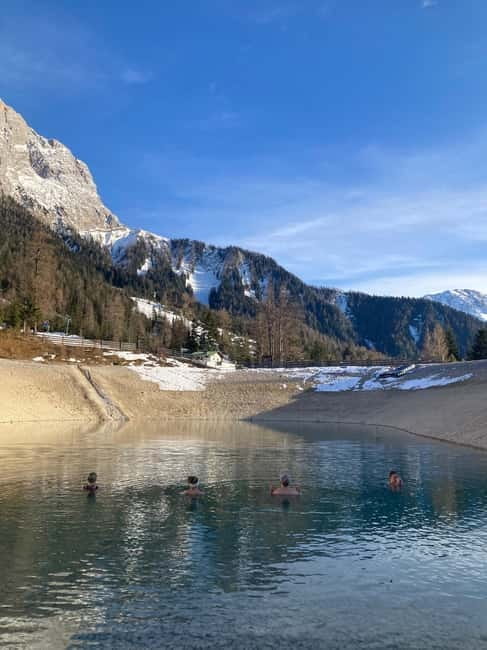
Cold water gets the headlines, but breathing is what makes the experience practical. Here you learn how to manage yourself before and after the ice exposure.
Before: you use breathing to reduce the shock factor and stay controlled.
After: you use breathing to raise warmth and improve recovery.
You’ll likely notice that people who do worst are the ones who treat the cold like a jump they must survive. People who do best treat it like a short, controlled exposure. Breathing supports that mindset change.
If you want a tangible takeaway, think of it like this: you’re not only learning how to get into cold water, you’re learning how to regulate stress and sensation. That’s the benefit you can carry beyond one lake session.
The scenery and the payoff near Zugspitze
At the foot of the Zugspitze, the view is part of why this works as a morning or afternoon reset. You’re in Tyrol, and you’re close to a major Alpine landmark. That’s not just a nice background. It changes how you experience the exertion and the cold.
The tour puts the panorama at the center of the story, because the hike and the lake setting reward effort. Even if your focus is inward during breathing and ice entry, you still get that outward reminder that you’re doing this in real mountain country.
And because the group is small and the pace is instructional, you’re not stuck in a big crowd. You can actually pay attention to the environment.
What you should pack so you don’t freeze your plans
You’re provided with swimming shoes, an emergency blanket, and rented towels. That covers some of the tricky basics. Everything else is on you. Use your packing list like a checklist for comfort and safety.
Bring:
- Swimwear
- A change of clothes
- Towel
- Food and drinks
- Hiking shoes
- Gloves
- Outdoor clothing and sportswear
- A daypack
- Hiking pants
- Personal medication
This is one of those tours where the details matter. You’ll likely want gloves even before the ice moment, because mountain mornings and lake edges can feel colder than you expect. Also, bring enough food and water for the hike and time outdoors. Meals are not included.
If you have to choose, prioritize:
1) warm layer changes
2) gloves
3) shoes that handle wet terrain
Who this is best for, and who should skip it
This activity is hands on and body focused. That means your fit matters a lot.
Best fit
You’ll probably enjoy this most if you:
- Want a cold experience with coaching and safety emphasis
- Are comfortable outdoors and walking on trails
- Like small group instruction (limited to 8)
- Enjoy learning techniques you can use again
Not suitable for many common health situations
The list of who should not go is very clear. It is not suitable for pregnant women, people with mobility impairments, wheelchair users, people with vertigo, non-swimmers, and people with heart problems.
It’s also not suitable if you have respiratory issues, epilepsy, diabetes, kidney problems, high blood pressure, or pre existing medical conditions. It’s not suitable if you currently have a cold, have had recent surgeries, have low fitness, have altitude sickness concerns, or are over 70 years old.
There’s also a weight limit: over 243 lbs (110 kg) is not suitable. Children under 18 are not allowed. People who are hearing impaired are also not suitable.
If any of your conditions are even borderline, treat that as a stop sign. This is a cold exposure activity with real physical impact.
Pricing and value: is $88 worth it?
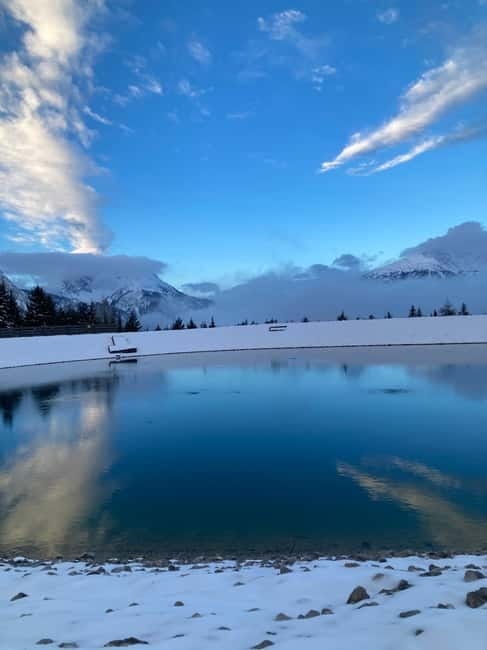
At $88 per person for 2 hours, this is not the cheapest thing you’ll do in Tyrol. But value here comes from more than a location.
You’re paying for:
- A professional guide team, including a mountain hiking guide and cold trainer
- Breathing instruction before and after the ice bath
- Small group attention, limited to 8 participants
- Safety supports like emergency blanket, plus swimming shoes and towels
In other words, you’re not just paying for lake access. You’re paying for guidance that helps you do cold exposure in a controlled way. If you’ve ever tried ice bathing without instruction, you’ll understand why coaching changes the whole experience.
If you’re a beginner and want safe technique rather than guesswork, this price is easier to justify. If you already know cold training methods and you’re fully equipped, you might question the cost. But for most first timers, instruction plus support is the point.
Languages and group vibe: what to expect from the people
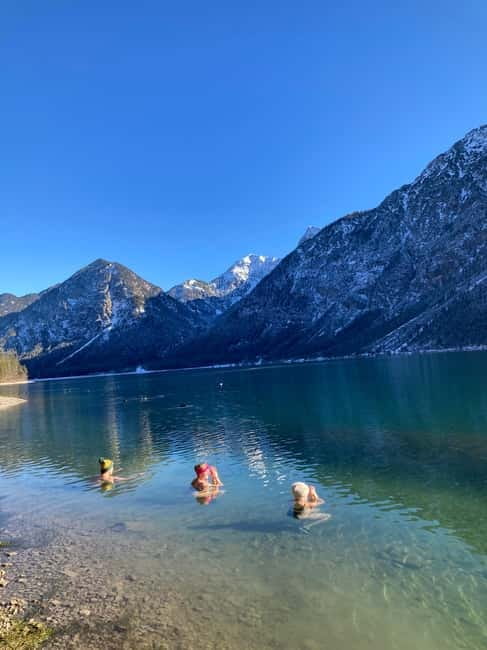
The instructors are listed as German and English. That makes the coaching accessible if you want to understand the breathing and safety steps clearly.
The group is small, capped at 8. That tends to create a focused, calm vibe, where you can ask questions and follow cues without being lost in a crowd.
One more interesting detail: the strongest positive feedback includes Simon as the guide name mentioned in the highest rated note. That suggests the teaching style and calm competence are part of the appeal.
Safety reality check (the part you should take seriously)
This tour is explicit about choice and responsibility. Each participant decides for themselves whether to actually go into the ice bath. The guides show the techniques to minimize risks.
That means you should treat safety like your job too. If you feel off, you stop. If breathing feels wrong, you focus on recovery. If weather turns risky, trust the switch to ice tubes and rewarming hike.
Also, follow the rules on what is allowed. Drones are not allowed. Alcohol and drugs are not allowed. Glass objects are not allowed.
If you’re bringing medication, bring it with you, as personal medication is listed in what to bring. If you’re not sure about fit because of health conditions, do not gamble with “maybe it’s fine.”
Should you book Get the cool Kick: ice bathing in the mountain lake?
Book it if you want an ice bath experience that’s taught, not just tried. This is a good match if you like structured instruction, you’re comfortable hiking short distances, and you want to learn breathing techniques that help you manage cold exposure safely.
Skip it if you are in the listed unsuitability groups, or if you expect to do this mainly as a thrill without focusing on technique. Cold water is not a casual activity, and the tour itself is clear that it relies on safety and responsibility from each participant.
If you want a cold experience with real outdoor setting and real coaching, this one makes sense. The alpine views at the foot of the Zugspitze are the bonus. The breathing lesson is the takeaway.
FAQ
How long is the ice bathing experience?
It lasts 2 hours.
Where is the meeting point?
Meet at the provided address at the location marked with a sign that says Meeting Point.
What is included in the price?
Included are swimming shoes, an emergency blanket, and a towel rental.
What should I bring with me?
Bring swimwear, a change of clothes, a towel, food and drinks, hiking shoes, gloves, outdoor clothing, sportswear, a daypack, hiking pants, and any personal medication.
Do I have to go into the ice water?
No, each participant decides for themselves whether to enter the ice bath. The guide provides safety techniques and support.
What happens if the weather is risky?
If conditions are risky, you use special ice tubes near the Meeting Point and you do a rewarming hike after the ice bath.
What language will the instructor speak?
The instructor offers German and English.